
§Importing an existing Maven project into Eclipse
If you have a Maven project created from an archetype (as described in Creating and running Hello World with Maven) or one you created on your own, import it into Eclipse as follows:
§Check prerequisites
Before attempting to create a Lagom Maven project in Eclipse, ensure that Eclipse is configured with the following:
- An m2eclipse plugin compatible with Maven 3.3 or higher.
- A JDK 1.8
§Import the project
- From the File menu, select Import.
The Select screen opens. - Expand Maven and select Existing Maven Projects.
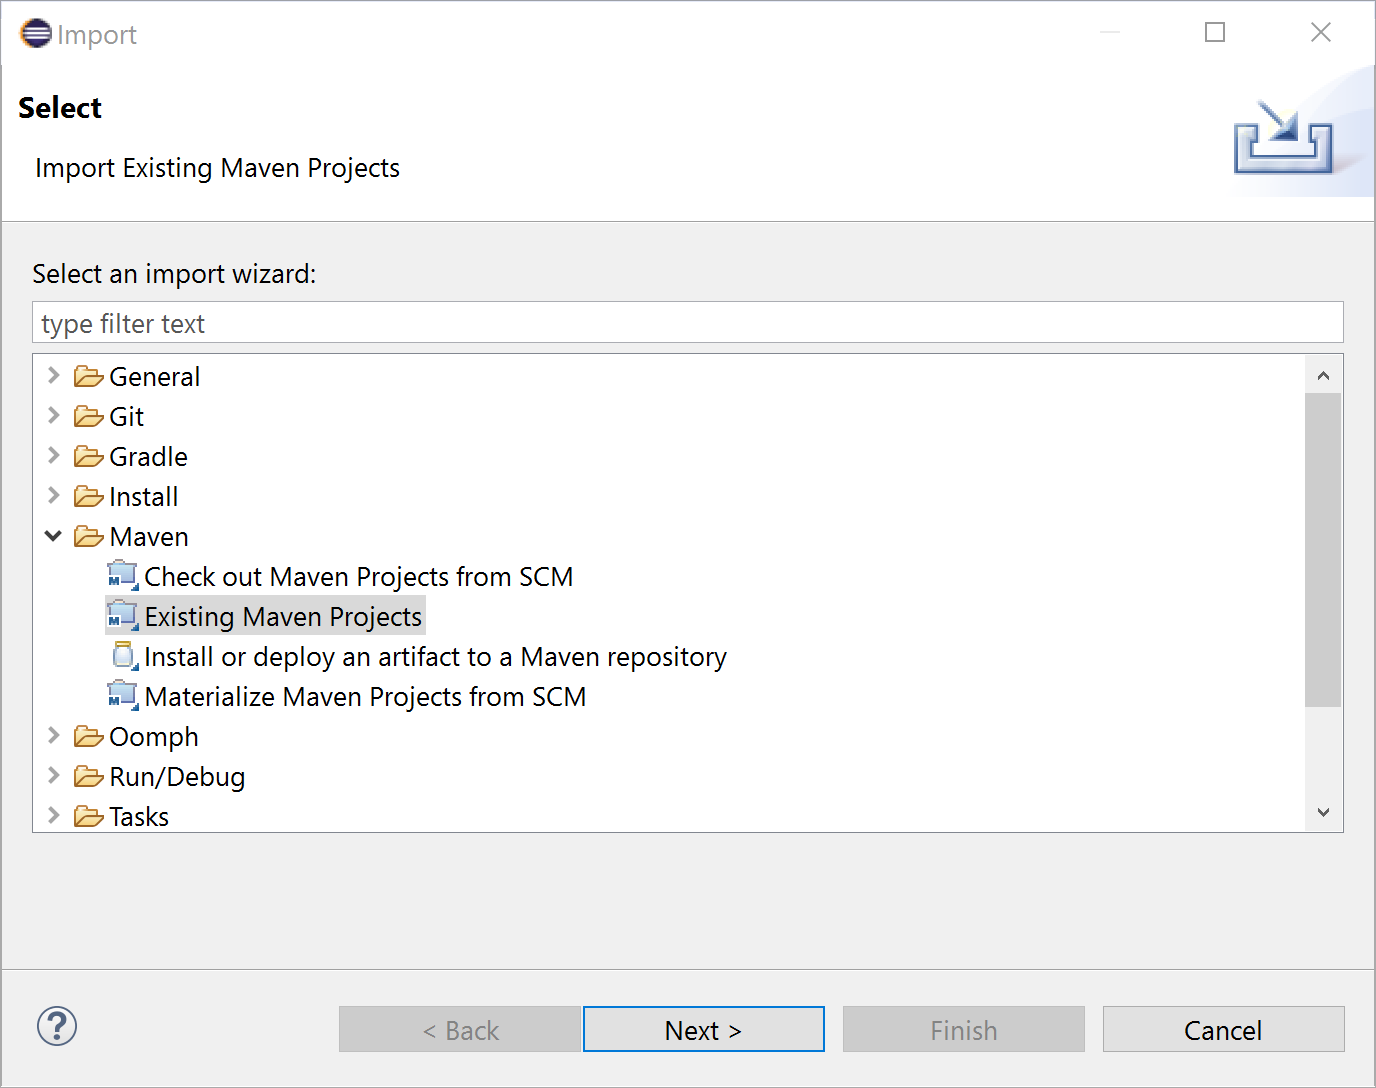
- Click Next.
- For Root Directory, click Browse and select the top-level project folder.
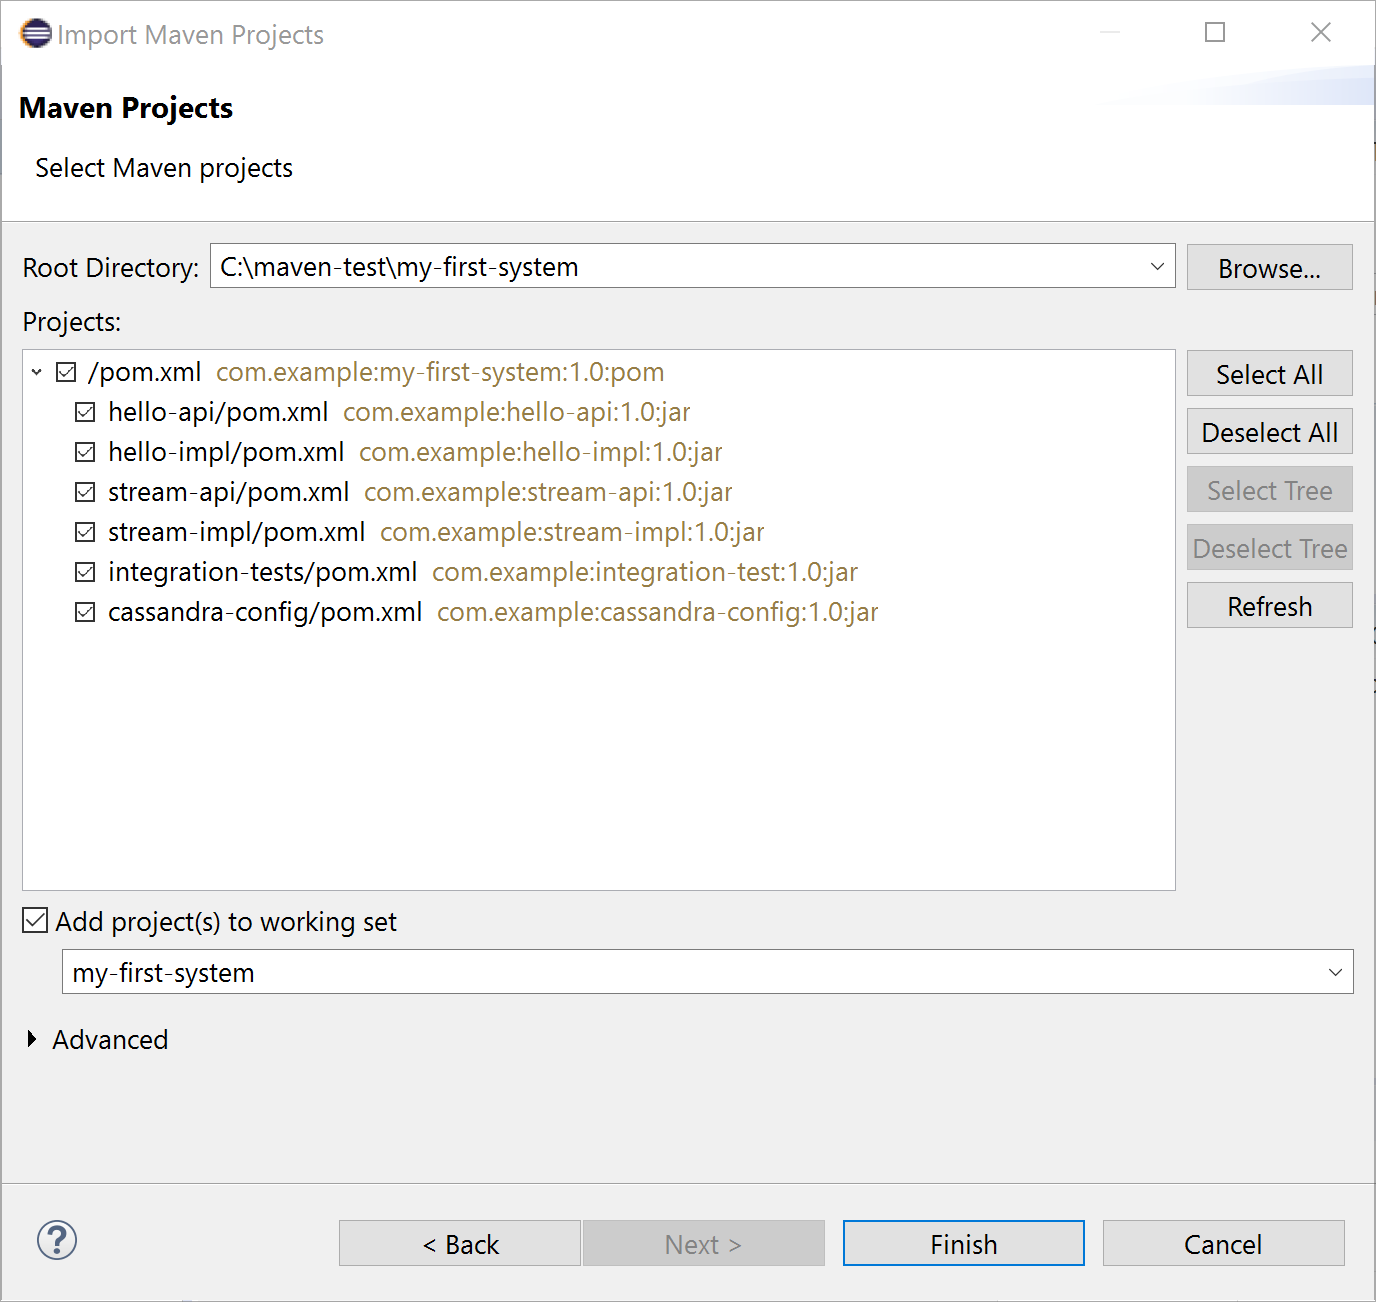
- Verify that the Projects list includes all subprojects and click Finish.
- Run the project:
- Right-click the parent project folder.
Eclipse puts all of the Maven project folders at the same level, so be sure to select the correct one. For example, if you usedmy-first-systemas the Maven artifact ID, right-clickmy-first-system. - Optionally, change the name.
- Select Run as … > Maven Build.
- In the Goals field, enter
lagom:runAll. - Select the JRE tab and make sure it is pointing at a JRE associated with a JDK.
- Click Run.
- Right-click the parent project folder.
The console should report that the services started. Verify that the services are indeed up and running by invoking the hello service endpoint from any HTTP client, such as a browser:
```
http://localhost:9000/api/hello/World
```
The request returns the message Hello, World!.